
4. BASIC SETUP
This chapter describes the Basic Setup screen. Perform the basic steps outlined below to access and enter the Basic Setup options. Details follow in the chapter.
1  Click to open the Basic Setup screen.
2
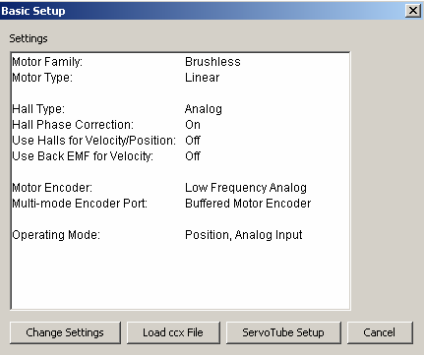
3 Review settings.
4 Choose:
 If necessary, click Change Settings to Change Basic Setup Settings
OR  If you have a .ccx file that was prepared for the amplifier/motor combination, click Load ccx File and see Copy Amplifier Data
OR  To change Basic Setup settings for a ServoTube motor, click ServoTube Setup and see ServoTube Setup
OR  To accept the displayed settings, click Cancel.
4.1: Change Basic Setup Settings
1  On the Basic Setup screen, click Change Settings to start the Basic Setup wizard. Use the Back and Next buttons to navigate screens. Screen details vary depending on amplifier model and mode selection.
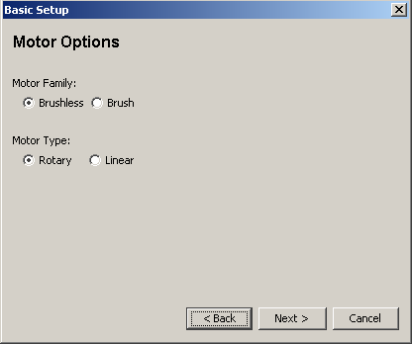
2 Set Motor Options
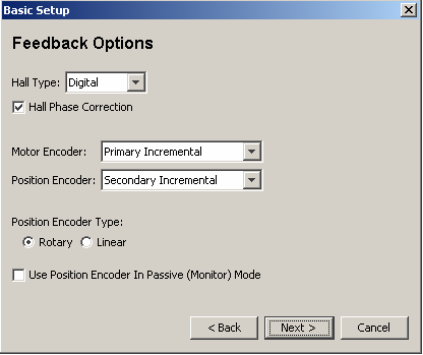
3 Set Feedback Options
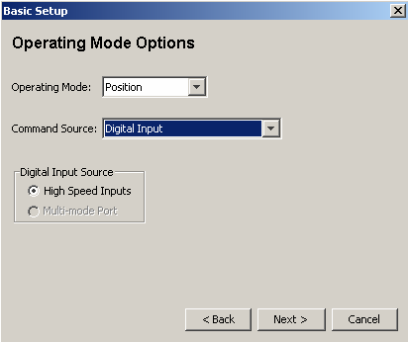
4 Set Operating Mode Options
5 Set Miscellaneous Options
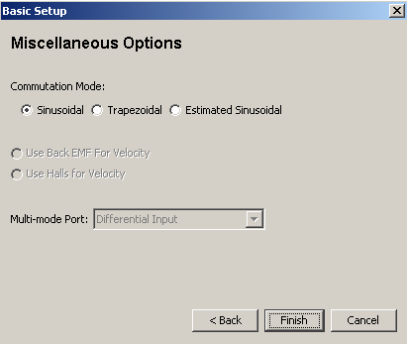
6 When satisfied with the settings, click Finish on the final screen.
4.2: Motor Options
View or change the settings described below. Options vary with amplifier model

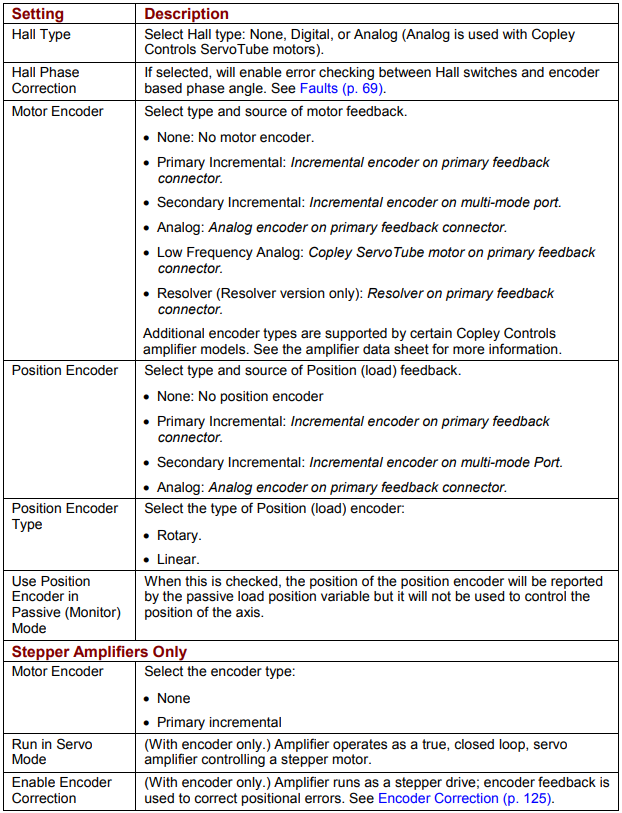
4.3: Feedback Options
View or change the settings described below. Options vary with amplifier model.
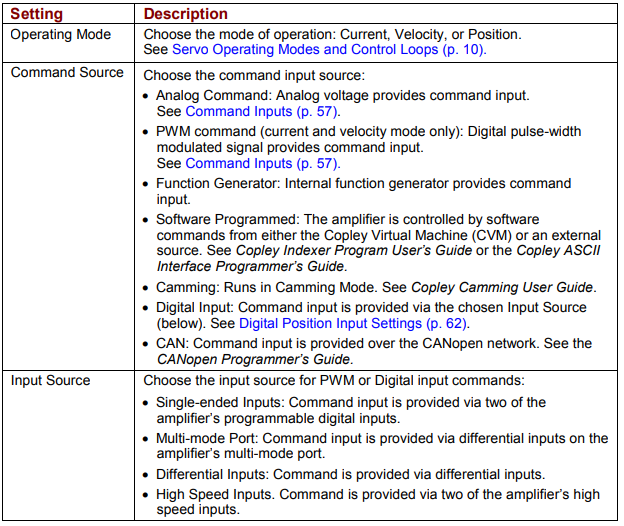
4.4: Operating Mode Options
View or change the settings described below. Options vary with amplifier model.
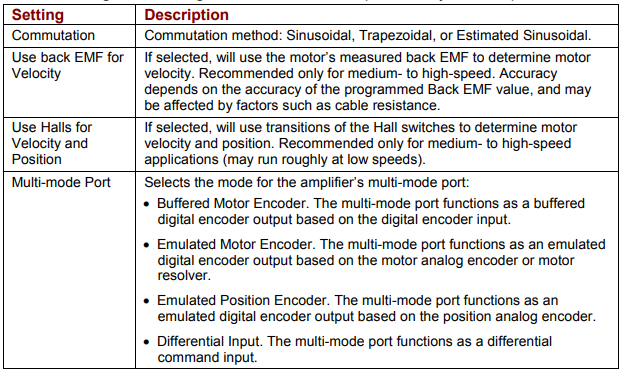
4.5: Miscellaneous Options
View or change the settings described below. Options vary with amplifier model.
4.6: ServoTube Setup
The ServoTube Setup tool sets up the amplifier for use with the chosen ServoTube motor. After the user selects the motor series and model, CME 2 performs the following actions:
• Sets motor-specific values for all feedback options in the Basic Setup screen.
• Provides motor-specific values for all settings in the Motor/Feedback screens.
• Performs the Calculate function to set initial gains and limits.
• Sets the appropriate programmable digital input as Motor Over Temperature.
• Phases the motor.
• Saves all values to flash.
• Opens the Control Panel so the user can Run a move in jog mode
Set Up a ServoTube Motor
1  On the Basic Setup screen, Click ServoTube Setup to start the Basic
Setup wizard. Use the Back and Next to move from screen to screen as needed.
2 Choose the appropriate Series and Model. Optionally choose to Invert Motor Direction. Optionally choose the Additional Encoder Option (available with certain motor series) and choose the appropriate resolution for the optional encoder (1 um or 5 um).
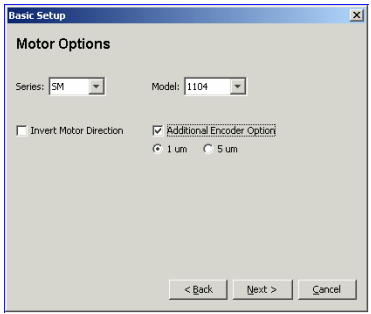
3 Set Operating Mode Options
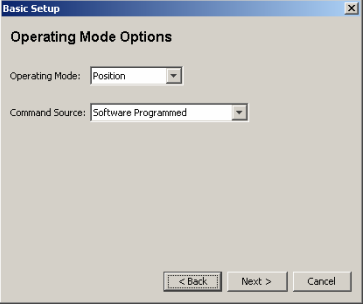
4 Set Miscellaneous Options
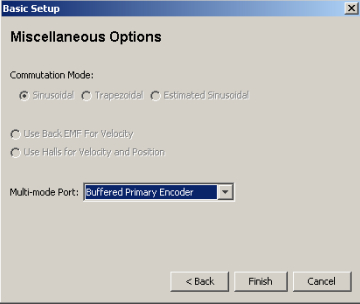
5 When satisfied with the settings, click Finish. The control panel opens.
6 To test basic move capabilities, Run a move in jog mode
7 Test with load attached