
5. Installation
5.1 Installation Preparation
You need to prepare following accessories before installation.
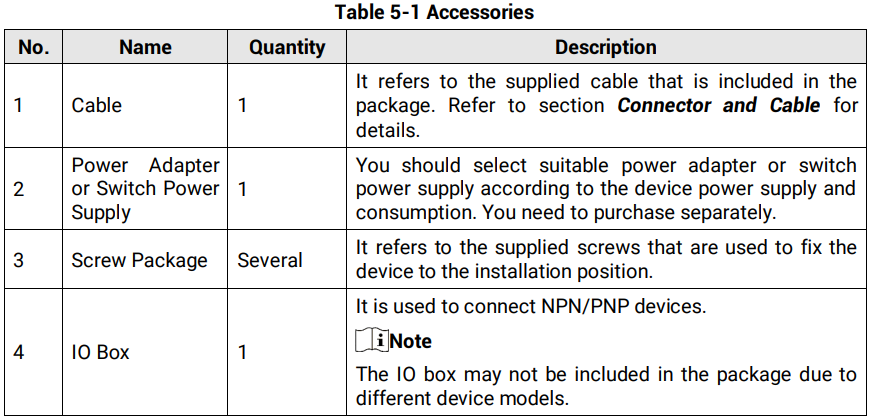
5.2 Install Device
Before You Start
● Make sure that the device in the package is in good condition and all assembly parts are included.
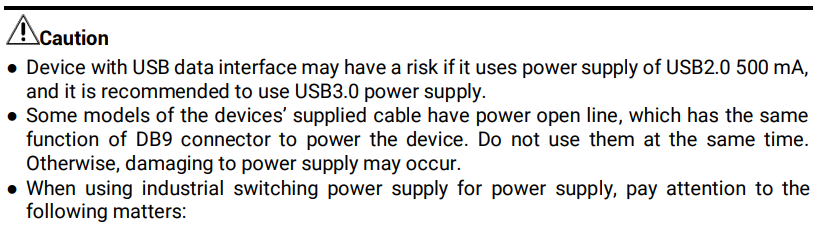
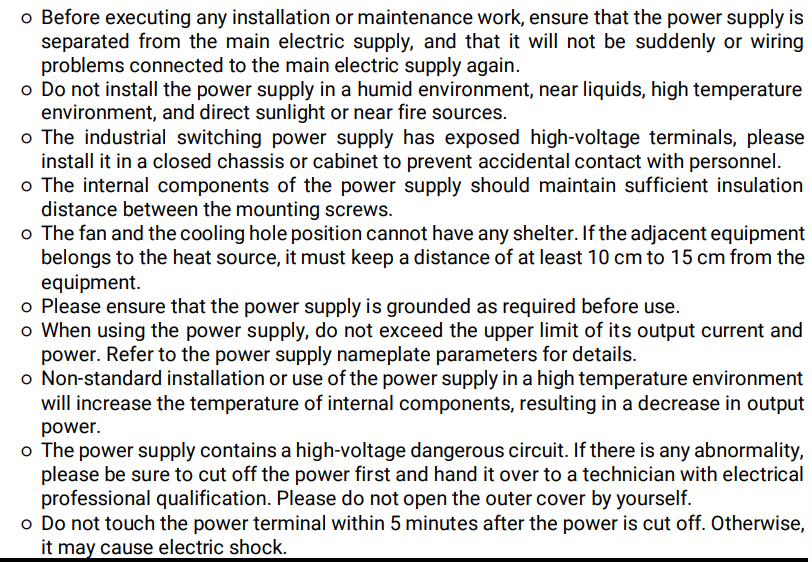
● Make sure that all related equipment is powered off during the installation.
Steps
1. Use supplied screws to fix the device to the installation position.
2. Use the supplied cable to wire the device according to pin definition mentioned in section
Connector and Cable.
● For type I to type V devices with fast Ethernet interface, connect the 17-pin M12 connector of the cable to the device, insert RJ45 connector of the cable into a switch or a PC for debugging images or transmitting data, and connect DB9 connector to a proper power adapter for power supply.
● For type VI device with fast Ethernet interface, connect the DB15 connector of the cable to the device, insert RJ45 connector of the cable into a switch or a PC for debugging images or transmitting data, and connect DB9 connector to a proper power adapter for power supply.
● For type I to type V devices with USB Interface, connect the 17-pin M12 connector of the cable to the device, and connect the USB interface of the cable to the PC.
● For type VI device with USB interface, connect the device to the supplied cable via the DB15 connector, and connect the USB interface of the cable to the PC.
● For type VII device with USB interface, insert RJ45 male connector of the cable into the device, and connect USB interface to external devices.
● For type VII device with RS-232 interface, insert RJ45 male connector of the cable into the device, and connect RS-232 interface to external devices.