
5. Quick Operations
This chapter helps you quickly start using the Software.
Before You Start
Make sure the device is connected.
Steps
1. Click Device Connection on the navigation bar, and double-click a device, or hover the cursor over a device and then click 
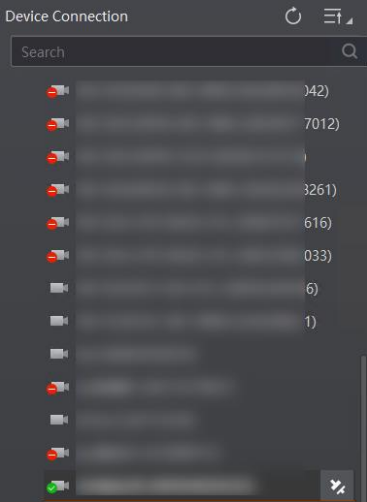 Figure 5-1 Device Connection
2. Select a running mode from drop-down list on the top left of the live view window. See Running Mode.
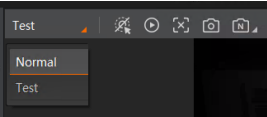 Figure 5-2 Running Mode
3. Click  on the top left of the live view window to start acquisition.
4. Adjust image parameters via the buttons on the top control toolbar according to the live view image, such as Smart Tune and Polling Param. See Smart Tune Control and Multiple Mode.
5. Click Algorithm Settings on the navigation bar, and add barcodes to be read.
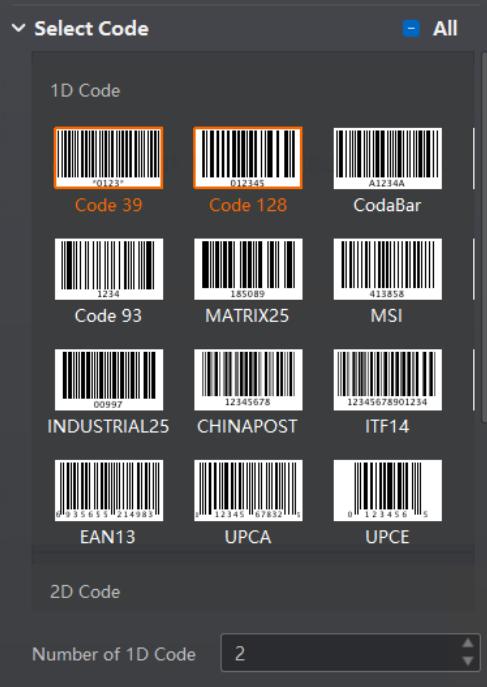
Figure 5-3 Add Barcode
6. Click I/O Control Settings on the navigation bar to configure input and output parameters.
7. Click Communication Settings to select a communication protocol for data transmission and configure related parameters.
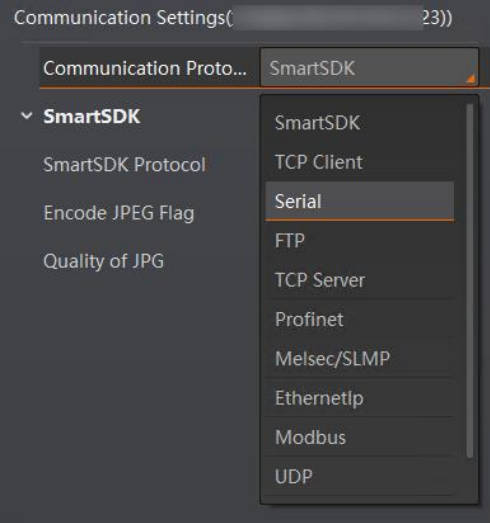
Figure 5-4 Configure Communication
8. Click Format Output on the control toolbar to configure the format of output data. See Data Processing Settings.
9. Click Param Save on the control toolbar to save the parameters you configured.
● Save: Select a user set, and then click Save to save the parameters you set by the above steps to the selected user set.
● Load: Load and apply the parameters in the selected user set to the currently connected device. If you select Default user set, the device will be restored to factory settings.
● : Add a customized user set. No more than 8 customized user sets are allowed.
10. Optional: Perform the following operations.
Acquisition on the control toolbar to start or stop acquisition of multiple devices in a batch.