
10. Camera Settings
Click Camera Settings and you can view the camera information, set I/O parameters, perform time synchronization, and other operations.
10.1 Camera Information Settings
You can view the camera's basic information and edit User ID. The information includes model, IP Type, serial No., IP address, user ID, subnet mask, Mac address, gateway, firmware version, and manufacturer. You can edit the user ID. Enter the User ID and click Save.
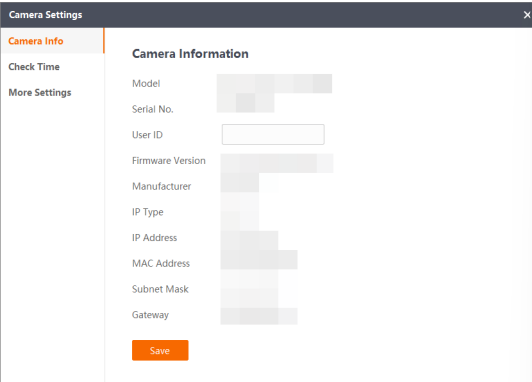
Figure 10-1 Camera Information Settings
10.2 Check Time
You can correct the camera's time manually or by NTP timing.
10.2.1 Manually Correct
If you select the correction mode to Manually Correct, the page will be displayed as follows.
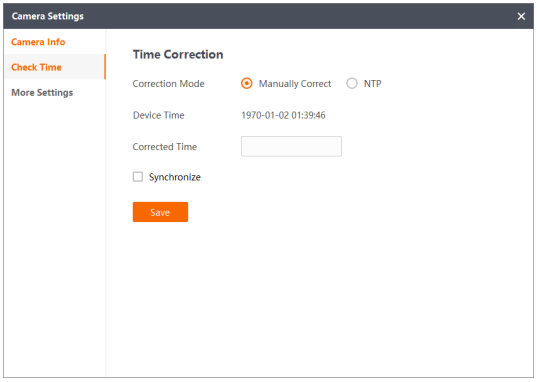
Figure 10-2 Correct Time Manually
Device Time
The current time of the camera.
Corrected Time
Click to correct the camera time.
Synchronize
After checking this, the PC time will be set as camera time. Click OK to synchronize the time.
10.2.2 NTP
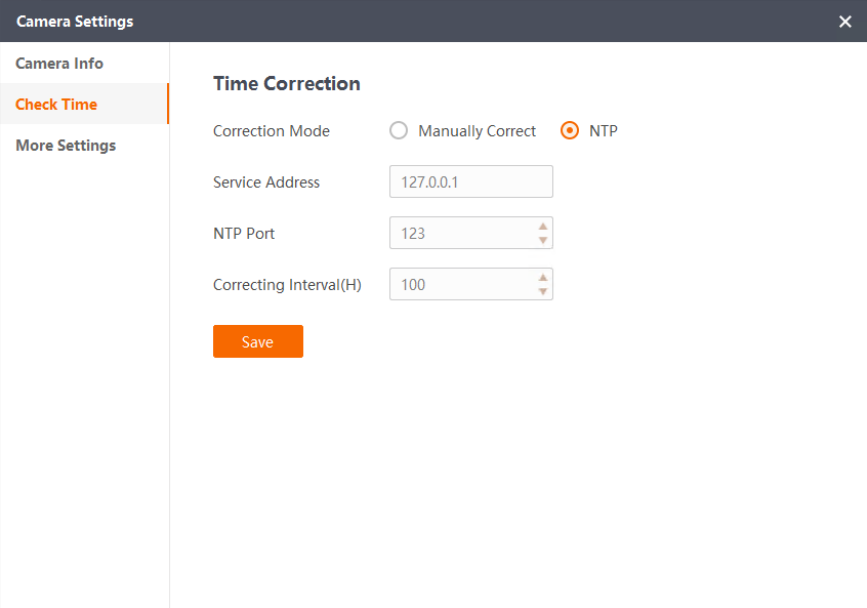
Figure 10-3 Correct Time by NTP
Enter the service address and NTP Port, and then set a correcting interval. Click OK. The camera's time will be synchronized with the NTP server according to the interval you set.
Note
If the service address is 127.0.0.1, the NTP server is the current PC where the Software runs.
10.3 More Settings
In More Settings, you can import/export settings, upgrade the firmware, set the password, restore to factory defaults, and reboot cameras.
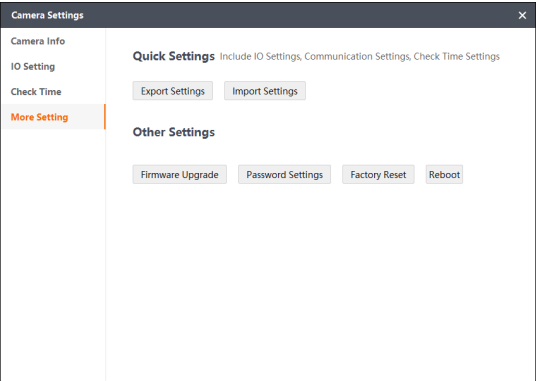
Figure 10-4 More Settings
10.3.1 Quick Settings
Quick Settings support importing and exporting parameters configured in I/O Settings and Communication and time correcting parameters in tar.gz format.

Figure 10-5 Quick Settings
● Click Export Settings to export the settings of the current camera to the PC
● Click Import Settings to import the settings saved in the PC to the current camera to
configure the parameters quickly.
Note
Only the settings of cameras of the same series can be imported
10.3.2 Other Settings
In Other Settings, you can upgrade camera firmware, change password, restore to factory settings, and reboot your camera.
Firmware Upgrade
Supports upgrading the firmware of your camera.
Before You Start
Make sure you have got the firmware for this model of camera from technical support.
Note
If you upgrade with firmware of a different model, it will lead to upgrade failure.
Steps
1. Unzip the firmware to format in dav.
2. Click Firmware Upgrade, and a window as shown below will pop up.
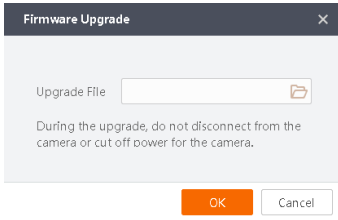
Figure 10-6 Firmware Upgrade
Note
If the firmware is already in the process of being upgraded, it will automatically stop.
3. Click to open the dav file and click Open.
4. Click OK to start to upgrade. The upgrade process will be displayed as below
Note
During the upgrade, do not disconnect from the camera or cut off power for the camera. The device will reboot after upgrade, and you can reconnect the camera.
Password Settings
Supports resetting the camera password.
Steps
Note
The default password is Abc1234, and it is highly recommended that you change your password when you first log in.
1. Click Password Settings.
2. Enter your current password in the Old Password field.
Note
Click  to reveal the password. When your typed text gets momentarily displayed as real instead of black dots, you can check if there is any mistake.
3. Enter your new password in the New Password field.
Note
Your password must contain: 6 to 15 characters; at least 2 of the following: uppercase, lower case, numeric, or special characters excluding (, ), =, and ^.
4. Enter your password again in the Confirm Password field.
5. Click OK.
Note
You need to log in again using your new password after resetting your password.
Factory Reset
Supports restoring camera settings to factory default settings.
Note
The I/O, IP Address, Time, NTP Correction, User Name, and Password of the camera cannot be restored.
Click Factory Reset, and then enter your password in the pop-up window, and finally click OK.
Note
You need to reconnect the camera after factory reset.
Reboot
Click Reboot and then OK to reboot your camera. You will then be redirected to the login page, and you can reconnect the camera after it is enumerated.
Export License
The Software supports exporting the license of a camera to the PC. Click Camera Settings → More Settings → Other Settings → Export License, and then select a saving path to download the camera license to the PC.