
3. Production Operation
3.1. Enable/Disable stacking
When the stacking scheme is a bilateral layout, if only one side of the pallets (either the left or the right side) needs to be placed, the enable switch button can be clicked to enable or disable the pallets on one side. A new layout scheme can be created for a single side, with the other side's pallets being blocked.
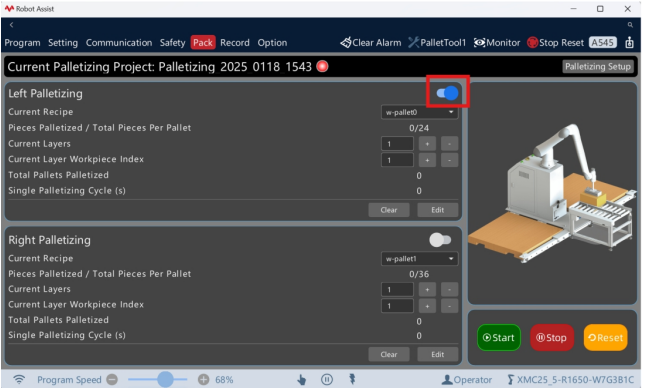 Figure Enable/Disable stacking
3.2. Switch formula
Click "Current Formula" to display the drop-down list, select the formula needed for the current side, a confirmation dialog box for switching formulas will pop up. Click "OK" to complete the formula switch, reset the current production capacitydata, the task will be initialized, and the next work object placement sequence number will be1
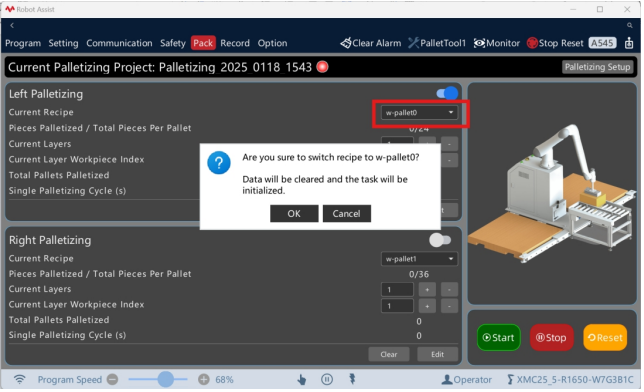
Figure Switch the formula
3.3. Modify production capacity data
1. When the robot is in a stopped state, click the“+” or “-” of "Current stacking layer number" and "No. of current layer work object to be stacked" or manually input to modify the current production capacity data. Click "Modify", then click "OK" to complete the saving. The task will be initialized. Click "Start", the robot will first return to the safe standby position and then place the work object sequence number set currently
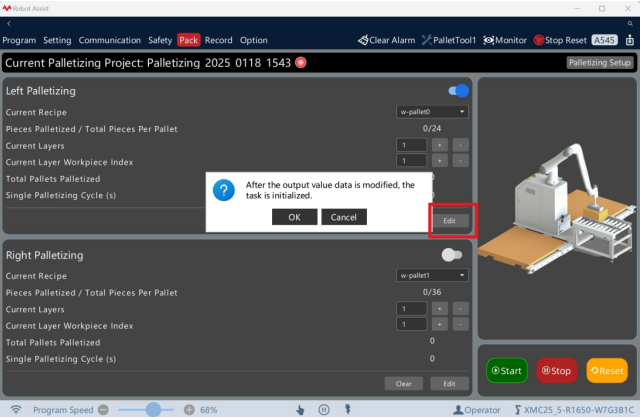
Figure Modify production capacity data
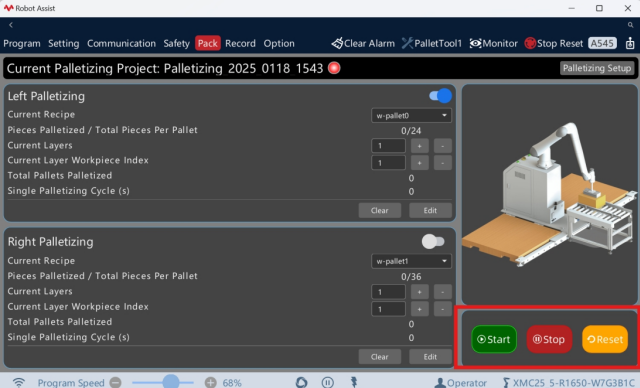
Figure Touchscreen control buttons
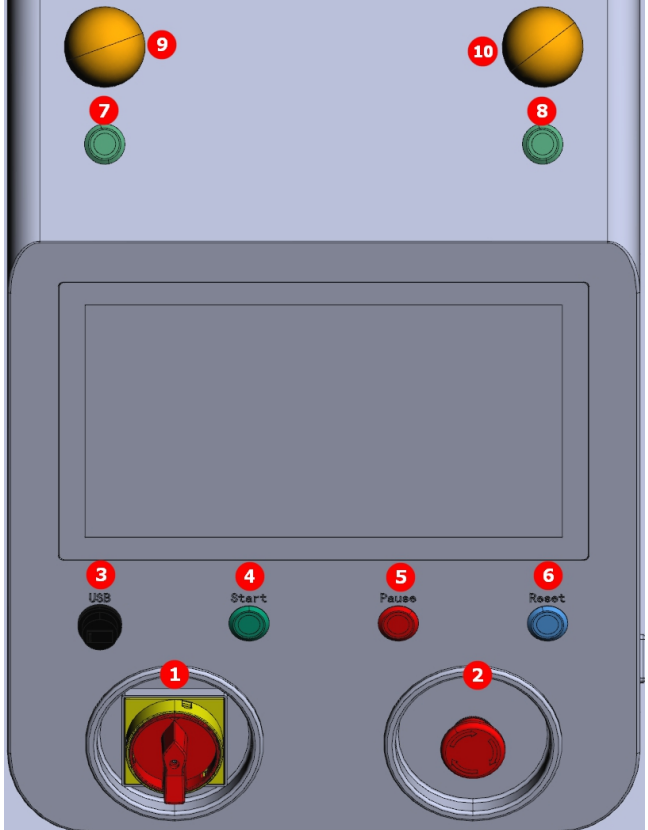
Stacking workstation control button
Power switch: Rotate to the ON position to power on and start the workstation. Rotate to the OFF position and the workstation power will be turned off. It supports a locking function, which can prevent personnel from making mistakes and ensure the safety of personnel and equipment.
Emergency stop button: In case of an emergency, pressing it will halt the operation of the workstation. Rotate and release the emergency stop button first, then hold down the reset button for more than 3 seconds to return the emergency stop button to the normal state.
USB interface: Insert a USB flash drive containing the upgrade data package or portable Wi-Fi for software upgrade or network connection.
Start button: Used to power on and start the robot.
Stop button: Used to pause the robot and cut off power. It can simultaneously pause the operation of the robot and the lifting column. After pausing and restarting, the current task can be continued.
Reset button: Short press for 1 second to reset the emergency stop of the robot
and clear the alarm. Long press for 2 seconds to switch the robot to automatic mode and power it on. Long press for 3 seconds to initialize the current task. After successful reset, the blue button light will turn on.
Left and right stacking start button: When the pallet on the current side is full, it is necessary to manually confirm that the new pallet on that side is in place and press the stacking start button on that side to successfully reset the full capacity data and alarm on that side. After the stacking on the other side is completed, continue stacking on the current side.
Left and right stacking status lights:
Yellow light: Standby, pallet is not in place.
Green light: The current side pallet stacking is in operation.
Red light+beep: Alarm for abnormal situations such as emergencystop, collision, and system error.
Yellow light+beep: The current side pallet is full.
3.5. Test run
After completing the formula and scheme configuration, enable the required pallet for stacking, select the desired stacking formula, click the "Reset" button on the touch screen or long press the "Reset" button on the workstation, adjust the program speed in the lower left corner to below 20%, click the "Start" button to run the current stacking task and confirm that all stacking paths are safe. During the slow operation of the robot, ensure that the human hand is near the button. If there is a risk of collision, press the "Stop" button or emergency stop button promptly. After the test run is complete, the program speed can be adjusted according to the production takt demand
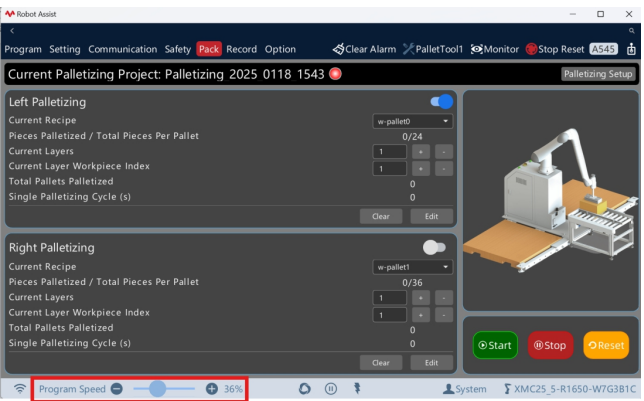
Figure Adjust program rate
3.6. Replace tools
The tool suction cup shipped with the stacking workstation can meet the technical specifications provided by ROKAE and is compatible with different products within acertain size and maximum load. Users may change the tool according to different project requirements. After replacing the tool, it is necessary to modifythetool parameters and re-teach the origin position of the conveyor line in the "Incoming material settings". The formula data will not be affected