
70. How to update iP Series HMI OS image?
To update iP Series HMI OS image, save the OS file in a USB drive and then insert the USB drive into the HMI. This FAQ explains how to check OS version and use USB drive to update OS image.
Checking OS version:
Step 1. On the system setting bar in the lower-right corner of the screen, press  and then press
  to view the system information.
Step 2. Open [Version] tab to check the OS version.
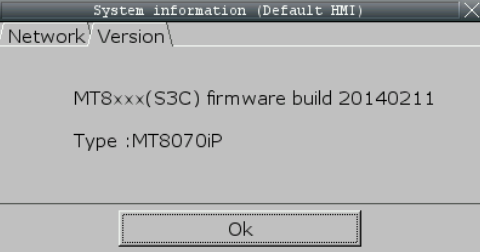
Updating OS version:
Step 1. Copy the “firmware_ip.bin” file into USB drive directory.
Step 2. Insert the USB drive into iP Series HMI. When the “download/upload” dialog box is displayed, press [cancel] to close it.
Step 3. On the system setting bar in the lower-right corner of the screen, press and then press  to open system settings dialog box.
Step 4. Enter HMI password, the default password is “111111”.
Step 5. Open [Firmware setting] tab and press [Upgrade firmware].
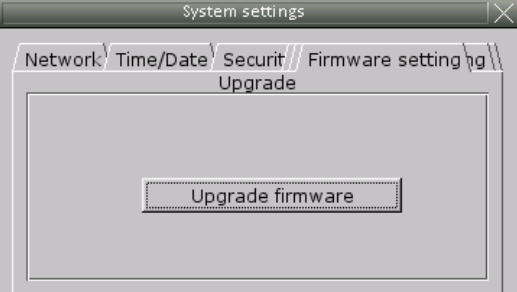
Step 6. When the [Pick a Directory] dialog box pops up, select the folder that saves the OS file.
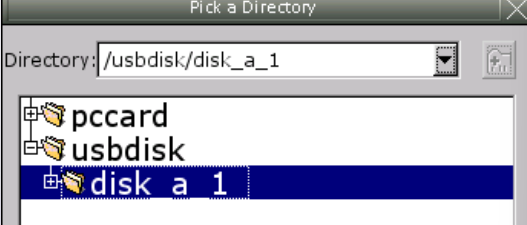
Step 7. The system will ask whether to continue firmware upgrade, press [Yes] to start upgrading.
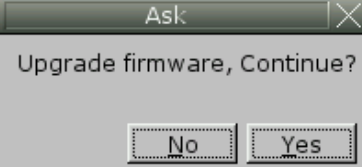
Step 8. The system will start progressing upgrade and this may take a little while, please keep the power supply during this process.
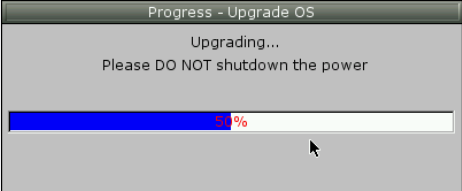
Step 9. When finish upgrading, the system will restart HMI. After this, touchscreen calibration is highly recommended.
Touchscreen Calibration:
Step 1. Press and hold the screen lightly with your finger and then power up the HMI.
Step 2. After the starting process, the system directly enters calibration mode.
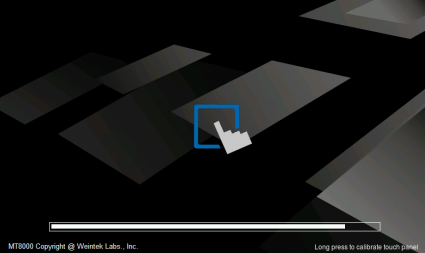
Step 3. Touch the center of all the “+” signs on the screen with your finger or a stylus. The signs disappear if correctly touched, and the touch parameters are stored in the system.