
9. Device Operation
The device operation section introduces some basic device operations about how to start live view, acquisition and recording, add cross line in the image, split window, view reports,
etc.

9.1 Live View
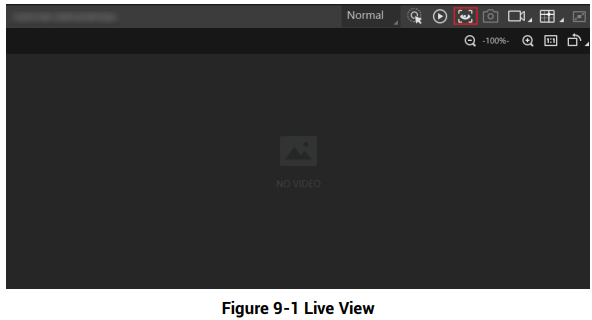
You can view the real-time image in the live view window.
Click  in live view window to start live view, or click
 to stop
9.2 Enable Acquisition
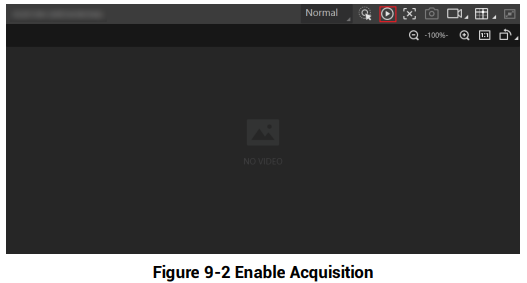
Enabling acquisition allows the device to acquire the real-time stream. Click  in live view window to start acquisition, or click
 to stop. You can also right click the device on the device list, and click Stop Acquisition to stop acquiring streams.

9.3 Add Cross Line
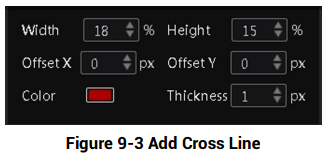
During live view, you can add a cross line on the live view image to adjust the position of the object in the view.
Click  in live view window to add cross line, and click
 (beside
 ) to open the editing window to set cross line parameters.
9.4 Start Recording
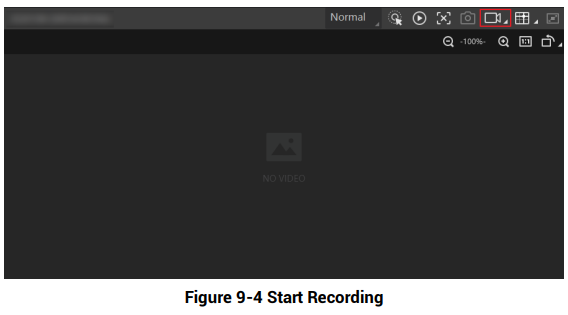
During live view, you can record video files and capture images continuously.

Click  in live view window to start recording, and click the icon again to stop. You can also click
 (beside
 ), and then click
 to capture images of the live view continuously.
9.5 Split Window
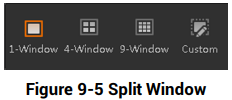
The client software supports window division function that allows you to split the window into multiple-window mode to view the live view of multiple devices at the same time.
Click  in control toolbar to select window division mode. You can click Custom to customize window division as you desired.
9.6 View Reports
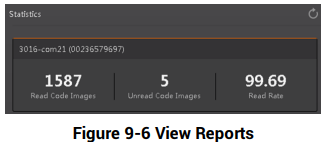
During acquisition or live view, you can view the reading status of the device.
Click  in control toolbar to open the statistics window to view the detailed information. Read Code Images refers to the number of the images on which the barcodes are read by the device. Unread Code Images refers to the number of the images on which the barcodes are not read by the device. Read Rate refers to the code reading rate.
9.7 View Log
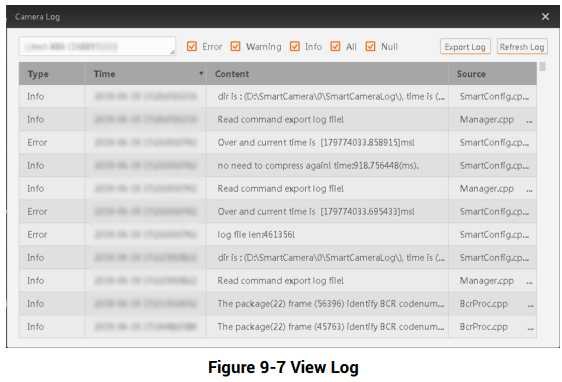
You can view the device logs and export them to the local PC.
Click  in control toolbar to open the device log window, and you can view different types of logs, including device errors, warning, and informational log, etc.
9.8 Set Time
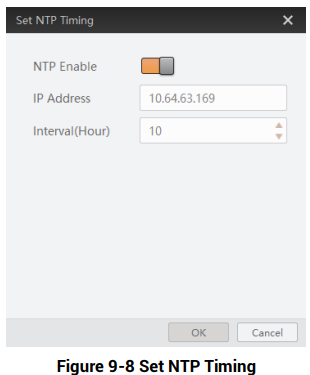
After enabling NTP time synchronization, the device will synchronize time according to the configured interval.
Steps
1. Go to Config Management, and find Timing.
2. Click Setting and enable NTP Enable.
3. Set parameters according to actual demands.

4. Click OK after settings.
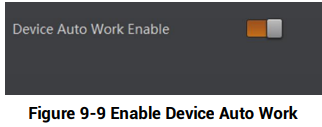
9.9 Enable Device Auto Work
This function allows the device to automatically enter the operating status after being powered on.
You can go to Config Management → Device Auto Work Enable, and enable Device Auto Work Enable.
No comments to display
No comments to display