
7. Device Connection
Device connection to the client software is required for device’s configuration and remote operations. This section introduces how to install the client software, set PC and device network, connect the device to the client software, etc.
7.1 Install Client Software
IDMVS is a client software for device configuration and remote operations.
Steps

1. Double click the installation package to start installing the client software.
2. Select the language.
3. Read and check Terms of the License Agreement.
4. Click Start Setup.
5. Select installation directory and click Next.
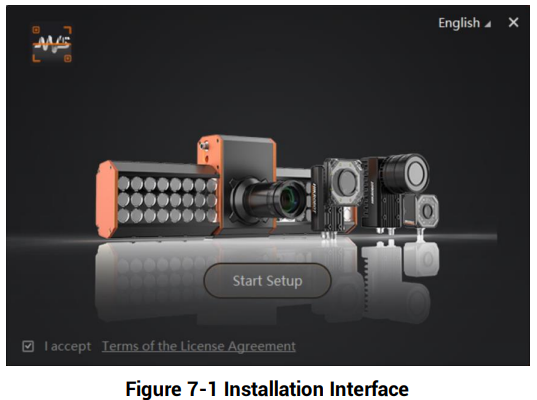
6. Finish the installation according to the interface prompts.
7.2 Set PC Environment
To ensure stable client running and data transmission, you are recommended to set PC environment. For the device with fast Ethernet data interface, you need to turn off the firewall and set PC network. For the device with USB data interface, you need to check the USB drive on the PC.
7.2.1 Turn off Firewall for Network Device
Steps

1. Go to Windows Firewall.
● Windows XP system: Click Start → Control Panel → Security Center → Windows Firewall.
● Windows 7 system: Click Start → Control Panel → Windows Firewall.
● Windows 10 system: Click Start → Control Panel → System and Security → Windows Defender Firewall.
2. Click Turn Windows Defender Firewall on or off on the left.
3. Select Turn off Windows Defender Firewall (not recommended).
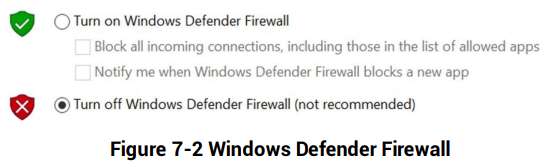
4. Click OK.
7.2.2 Set PC Network for Network Device
To ensure stable data transmission and normal communication between the PC and the device via client software, you need to set the PC network and make sure that they are in the same network segment.
Steps

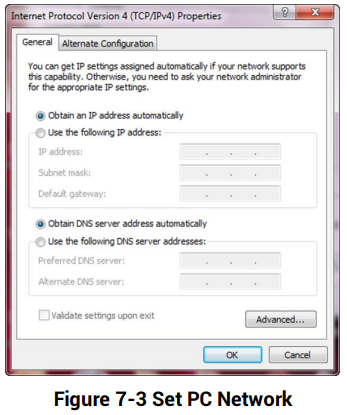
1. Go to PC network settings page: Start → Control Panel → Network and Internet → Network and Sharing Center → Change adapter settings.
2. Select NIC and set the IP obtainment mode.
● Select Obtain an IP address automatically to get an IP address of the PC automatically.
● Or select Use the following IP address to set an IP address for the PC manually.
7.2.3 Check USB Drive for USB Device
Checking the USB drive on the PC is required before using the USB device. After connecting the USB device to the PC, the Windows system will automatically detect a new hardware device and install its corresponding drive.
Go to Device Manager by either pressing Win+X or right-clicking on the Windows menu button, and locate and expand the Network adapters to check the drive.

7.3 Set Device Network and Connect to Client Software
You can set and operate the device in the client software only when the device is in the same network segment with the PC where the client software is installed.
Steps
1. Double click the client software to run it.
2. Click  to find the device.
3. Right click the device to be connected, and click Modify IP.
4. Set the IP address of the device in the same network segment with the PC, and click OK.
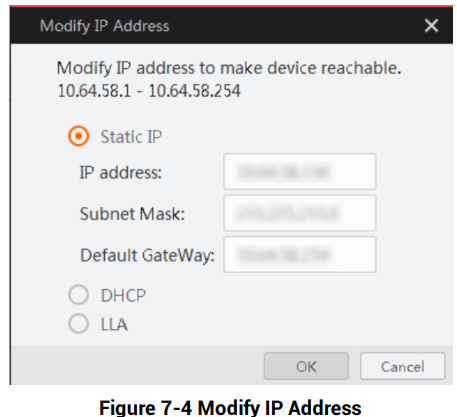
5. Double click the device in device list or click to connect it to the client software.
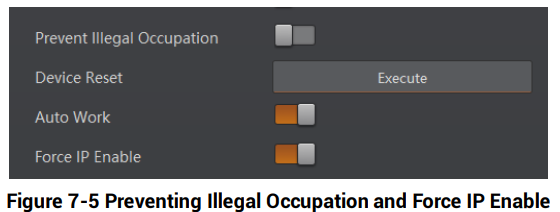
6. (Optional) Go to Device Control and enable Preventing Illegal Occupation to prevent IP address being occupied by other devices.
7. (Optional) Go to Device Control and enable Force IP Enable if you want to edit static IP address.
No comments to display
No comments to display