
10. I/O
Click on "I/O" in the menu bar to enter the IO Detection page.
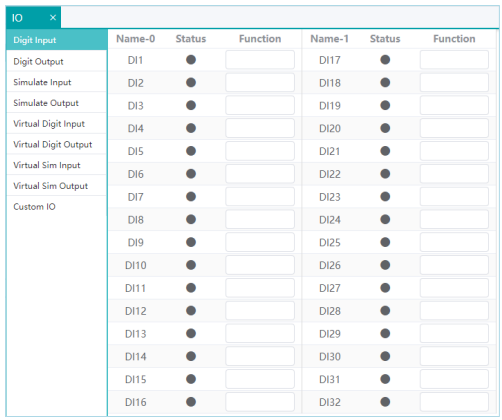
Refer to the following figure. The IO-related data is transmitted from the main interface.
10.1.Digital
Upon entering the IO Detection page, the default view is the "Digital IO" list, where you can check the status of the IOs.
Users can view the IO status on the control module: Green indicates a signal, and gray indicates no signal.
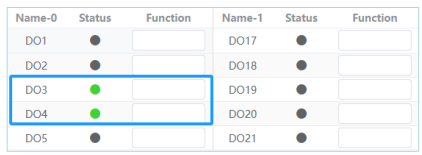
D1-D8: Not allowed for output. Double-clicking on D1-D8 will display the following:

Users can check the actual IO status on this page.
10.2.Analog
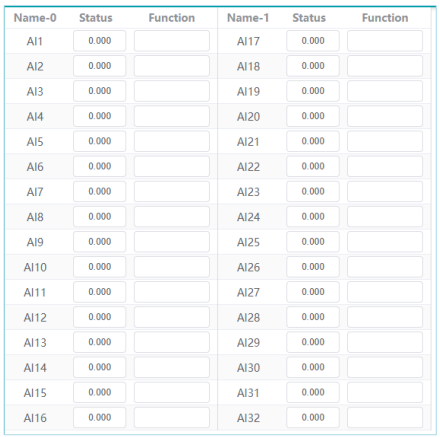
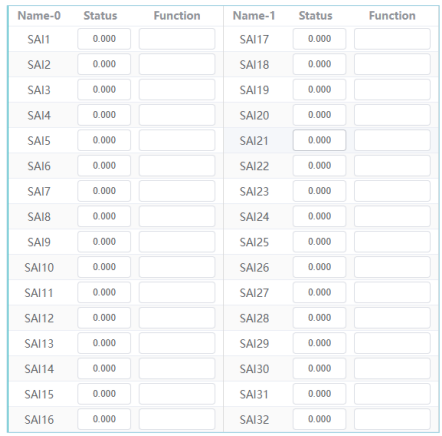
Users can check the actual analog status on this page.
10.3.Virtual Digital
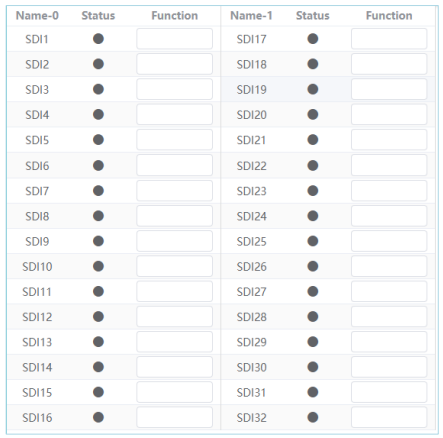
Users can check the status of virtual IOs on this page.
10.4.Virtual Analog
Users can check the status of virtual analog IOs on this page.
10.5.Custom IO
All signals can be assigned labels. Users can select Digital IO, Analog IO, Virtual Digital IO, or Virtual Analog IO and add them to Custom IO.

Implementing Custom IO: Select an IO, right-click, and choose "Add to Custom".
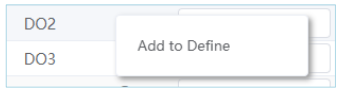
The added IO can be seen in the definition.

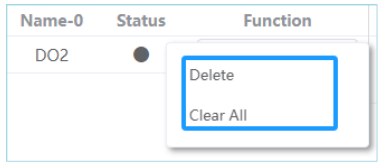
In Custom IO, you can also delete individual IOs or remove all added Ios.
No comments to display
No comments to display