
6. Graphical Programming
6.1.Create a Graphical Project
Refer to Section 4.3 for creating a graphical workspace.
6.2.Introduction to Graphical Blocks
6.2.1.Command Blocks
Each command is represented by a graphical block that can be dragged out to implement its functionality independently
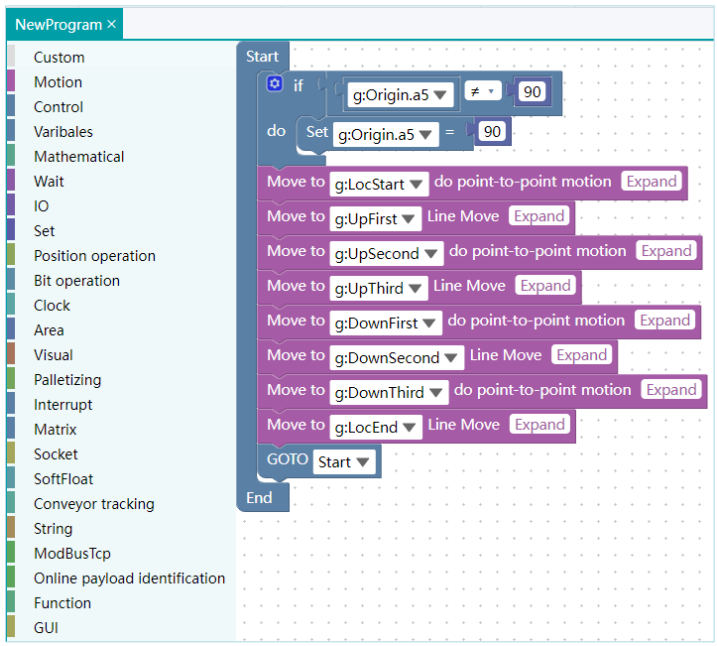
When a block is dragged out, only the required parameters are displayed, and non-required parameters are collapsed by default. Users can expand to select the required parameters, as shown in the example.
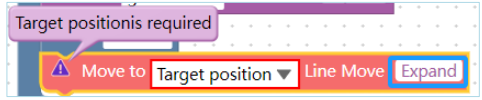
Each input is filtered based on the variable type required.
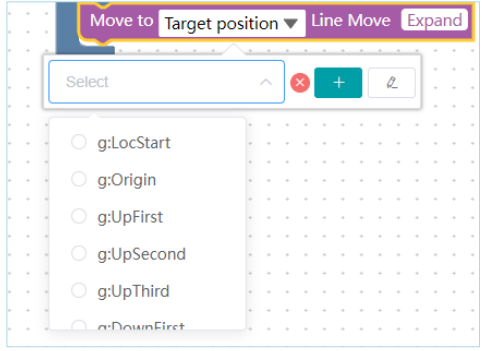
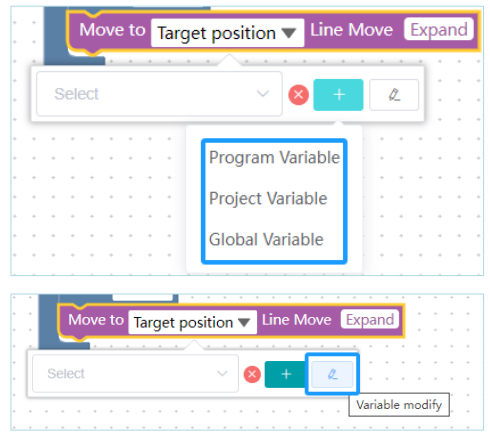
If the desired parameters are not available, users can click the "+" button to add variables. By selecting the desired variable type, they will be directed to the corresponding file to add the required type.
Special blocks for certain commands are displayed as shown below:

The following is an example of a block that can be concatenated:
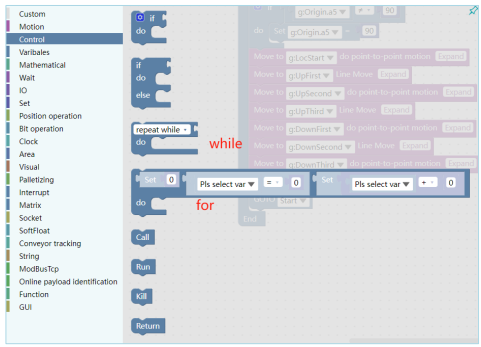
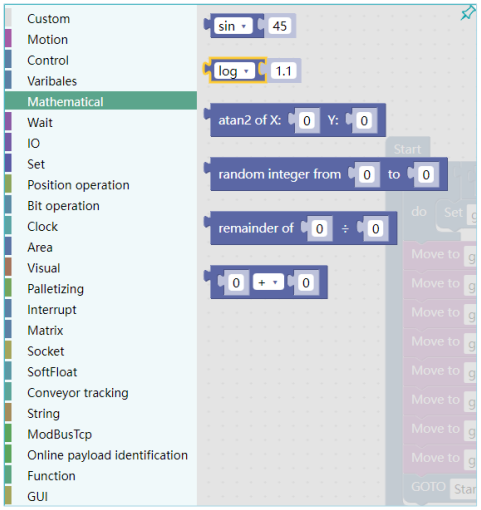
6.2.2.Assignment and Variable Blocks
Variable Block
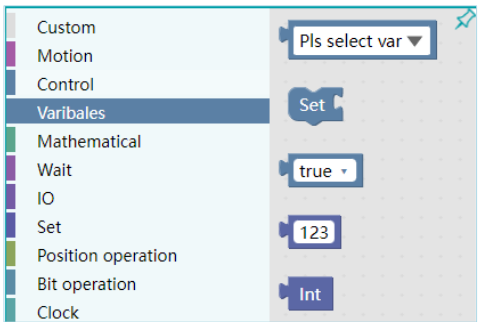
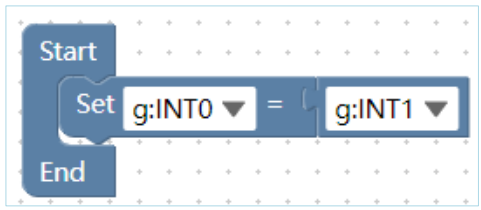
The Set/Assignment Block is primarily used to assign values to variables.
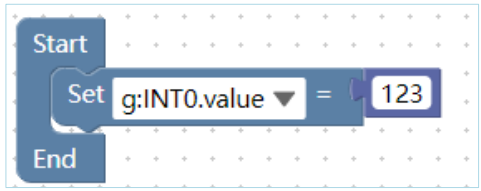
In the Assignment Block, you can select one variable to assign its value to another variable.
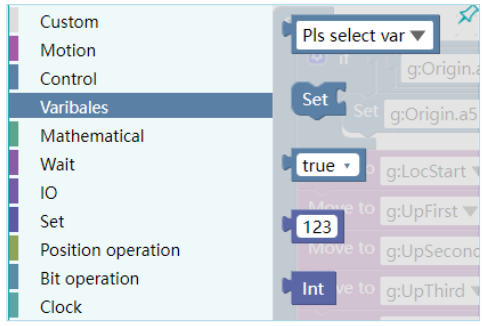
There are three concatenation blocks for String, Boolean, and Numeric types.
6.3.Simple Demo Program Demonstration
(1) Create a New Graphical Workspace
Please refer to Section 4.3 for the steps to create a new graphical workspace. Below is an example of a newly created demo.
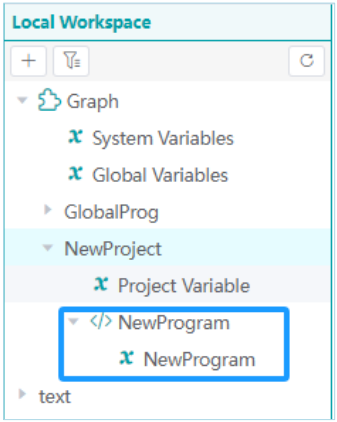
(2) Double-Click to open "NewProgram"
By default, it has a "Start" and an "End" block.
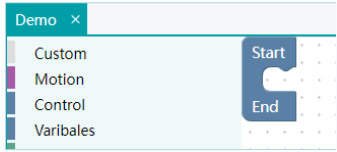
(3) Click on the instruction tree on the left and select any one as an example, such as the "Motion" command.
Choose a graphical box and place it between the "Start" and "End" positions.
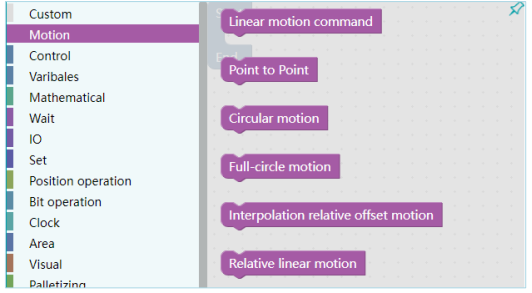
Select a block for linear motion, as shown in the image.
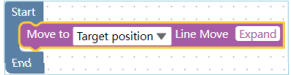
(4) For the "Target Position" dropdown in the block above, select a parameter variable.
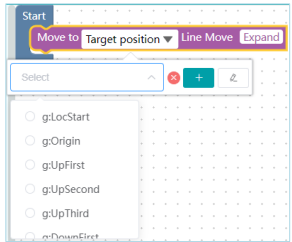
If there are no useful variables in the dropdown, you need to add a new variable.
(5) Click the "+" button to add a new variable.
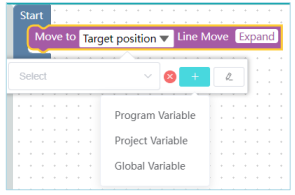
For example, if you select "Program Variables," navigate to the program variables file and create a new variable for the target position.
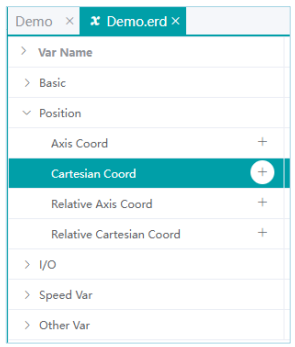

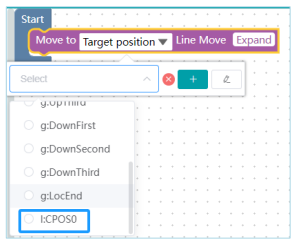
Once you add the variable, it will appear in the dropdown list when you click on the "Target Position", as shown in the figure below.
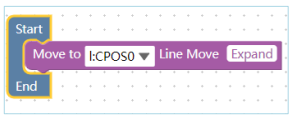
After selecting a variable, it will be displayed as shown in the figure.
If you select the wrong variable, you can click the "x" clear button in the dropdown to remove the selection and choose another variable.
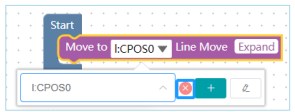
After making the new selection, it will be displayed as shown in the figure.
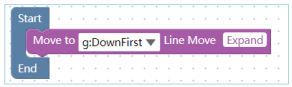
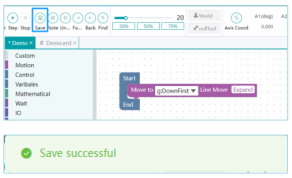
(6) Click "Save" to save the graphical program.
In this manner, the graphical project is edited and completed. Similar steps can be followed for other commands as well.
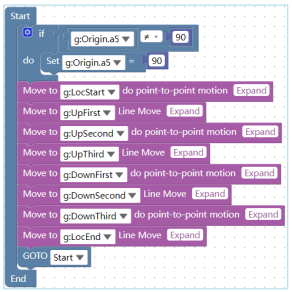
(7)A simple Demo graphical program
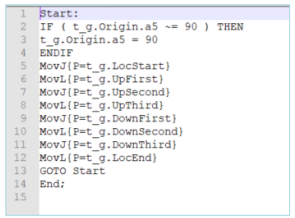
Graphical Program Implementation:
Text Program Implementation:
No comments to display
No comments to display