
15. How to Capture the Simulation Screen Display ?
Screen capture is always required for users to edit manual guide. There are two ways of capturing the simulation screen display:
A. Capture screen on PC;
B. Use “Screen hard copy” function of EasyBuilder Pro:
A. Capture screen on PC
During on-line simulation or off-line simulation, press “Alt+Print Screen” on keyboard to capture the simulation screen. Paste it into an image editing tool and save it.
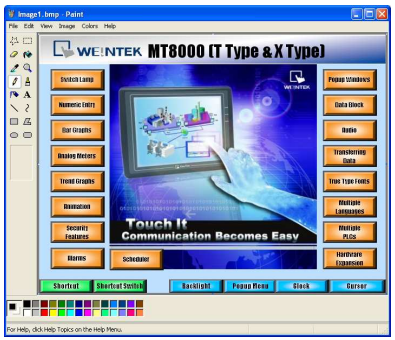
B. Use “Screen hard copy” function of EasyBuilder Pro
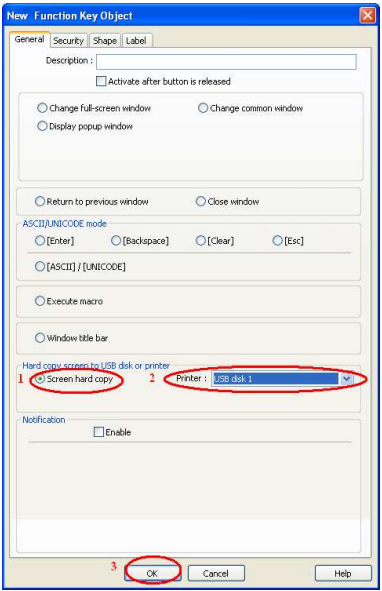
1. Open EasyBuilder Pro project file. Create a function key and check the “Screen hard copy” radio box in the general setting window. Set the printer to “USB disk 1”.
Notice: It is suggested to create the function key object on the “Common Window”, since that the objects in this window can be applied to all other windows;
Click “Object / Button / Function Key”:
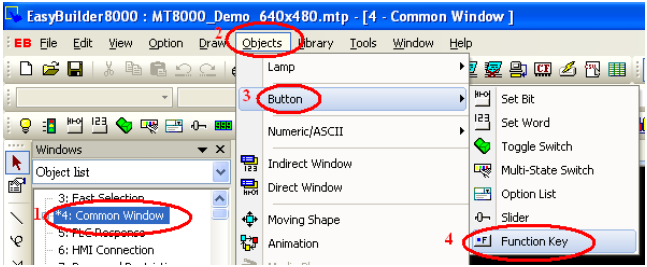
2. In the popup window, check the “Screen hard copy” radio box under the “General” tab. Set the printer to “USB disk 1”. Click “OK” to finish.
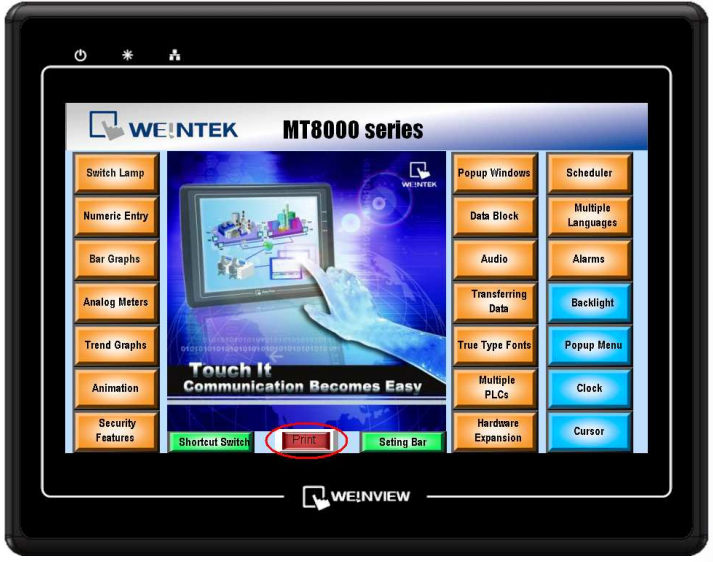
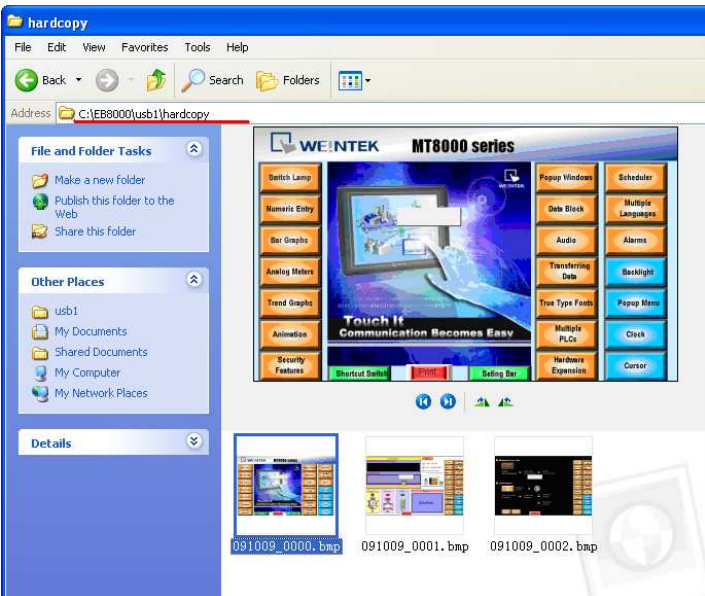
3. Start off-line simulation. Click the print button that is created in the previous step to capture the simulation screen and save it as an image file under the path “\usb1\hardcopy”.
The image is saved in the following path C:\EasyBuilder Pro\usb1\hardcopy:
No comments to display
No comments to display